 Save to Pinterest
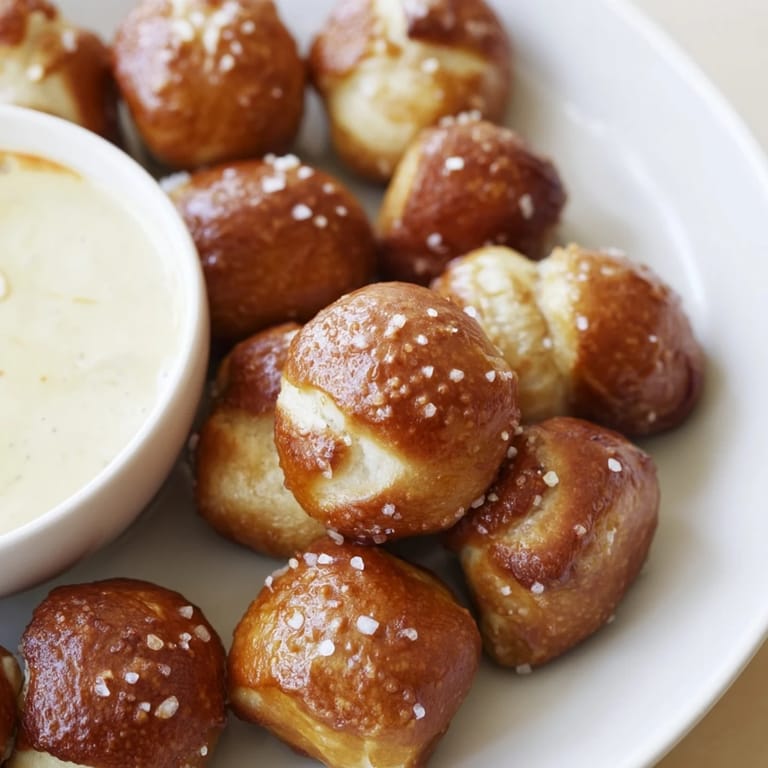
 There's something magical about the moment a pretzel nugget hits your tongue—that precise contrast of a chewy, yielding interior wrapped in a snappy, salty crust. I discovered these weren't just for fancy beer gardens one quiet Sunday afternoon when I impulsively mixed up a batch after scrolling past a photo, and they emerged from the oven looking like golden, pillowy gems. My kitchen filled with that unmistakable warm yeast smell, the kind that makes everything feel intentional and homey, even though I'd honestly just been improvising. What struck me most was how something so restaurant-quality could come together in an afternoon, especially when paired with a cheese sauce so creamy it practically glowed.
I'll never forget bringing these to my neighbor's game night expecting them to disappear quietly into the chaos, only to watch everyone abandon their snacks to hover around the platter. One friend kept coming back asking if she could learn the technique, and watching her realize that boiling them in baking soda was the actual secret—not magic, just chemistry—felt like sharing something genuine. That evening taught me that the best recipes are the ones people want to recreate themselves, not just devour.
Ingredients
- All-purpose flour (3 1/4 cups): This is your foundation, and measuring by weight instead of volume will save you from a dough that's either too dense or frustratingly sticky.
- Warm water (1 cup): Temperature matters more than you'd think—too hot kills the yeast, too cool and nothing rises, so grab a thermometer if you have one.
- Active dry yeast (2 1/4 tsp): Fresh yeast makes all the difference; check your packet date and store it properly between uses.
- Sugar and salt (1 tbsp and 1 tsp): Sugar feeds the yeast, salt controls it, so don't skip either one even if you're tempted.
- Unsalted butter (2 tbsp melted): This adds richness without overshadowing the yeast flavor that makes these taste like the real thing.
- Baking soda solution (1/2 cup in 8 cups water): This is the secret that transforms ordinary dough into authentic-tasting pretzel bites with that characteristic brown exterior.
- Egg wash (1 beaten egg): Creates that glossy, appetizing finish and helps the salt stick exactly where it belongs.
- Coarse sea salt: Use actual coarse salt, not table salt, which dissolves too quickly and tastes harsh by comparison.
- Sharp cheddar cheese (1 cup shredded): The sharper the cheese, the more personality your dip will have; don't buy pre-shredded if you can help it because of the anti-caking agents.
- Mozzarella cheese (1/2 cup shredded): This adds creaminess and stretch without diluting the cheddar's assertiveness.
- Whole milk (1 cup): Whole milk creates a richer sauce than skim; if you only have low-fat, it'll still work but won't feel quite as luxurious.
- Butter and flour for the roux (2 tbsp each): This is your thickening foundation, so keep the heat moderate so the flour cooks without browning.
- Garlic powder and smoked paprika (1/4 tsp each): These aren't just seasonings—they're the whisper that makes people ask what's in your dip without being able to pinpoint it.
Tired of Takeout? 🥡
Get 10 meals you can make faster than delivery arrives. Seriously.
One email. No spam. Unsubscribe anytime.
Instructions
- Wake up your yeast:
- Combine warm water, sugar, and yeast in a large bowl and wait about five minutes for it to get foamy and alive-looking. If it stays flat, your yeast is done for and it's time to grab a fresh packet.
- Build your dough:
- Stir in melted butter and salt, then add flour slowly while mixing so you don't end up with a floury cloud situation. Keep going until a soft, slightly tacky dough comes together.
- Develop the gluten:
- Knead for five to seven minutes on a floured surface until the dough transforms from shaggy to smooth and elastic. You'll feel the moment it shifts—the dough becomes almost alive under your hands.
- Let time do the work:
- Place your dough in a greased bowl, cover it loosely, and find a warm spot—near a sunny window works, or inside a turned-off oven with the light on. You're waiting for it to roughly double in size, which usually takes about an hour.
- Prep your workspace:
- While the dough rises, preheat your oven to 425°F and line a baking sheet with parchment paper. Get your pot of water and baking soda going on the stove so it's boiling and ready when you need it.
- Shape into bites:
- Once your dough has risen, turn it out onto a lightly floured surface and divide it into six equal portions. Roll each piece into a rope about eighteen inches long, then cut those ropes into one-inch pieces—you're aiming for that perfect bite-sized shape.
- The baking soda bath:
- This is the magic step that separates real pretzels from bread rolls. Working in batches so you don't overcrowd the pot, drop your dough pieces into the boiling baking soda solution for exactly thirty seconds, then fish them out with a slotted spoon and transfer them to your parchment-lined baking sheet.
- Add the finishing touches:
- Brush each piece generously with beaten egg wash and sprinkle with coarse sea salt while they're still slightly wet. This is where the pretzel magic visually happens.
- Bake until golden:
- Bake for twelve to fifteen minutes, watching until they're a deep golden brown. They should smell incredible and look almost too good to eat.
- Make your cheese sauce:
- While the bites bake, melt butter in a saucepan over medium heat and whisk in flour to create a paste. This is your roux, and cooking it for a minute helps remove the raw flour taste.
- Create the creamy base:
- Gradually whisk in milk, stirring constantly to prevent lumps, until you have a sauce that coats the back of a spoon. This usually takes two to three minutes.
- Melt in the cheese:
- Add your shredded cheeses along with garlic powder, smoked paprika, salt, and pepper, stirring until everything is melted and silky smooth. Taste and adjust seasoning—this is your chance to make it exactly how you like it.
 Save to Pinterest
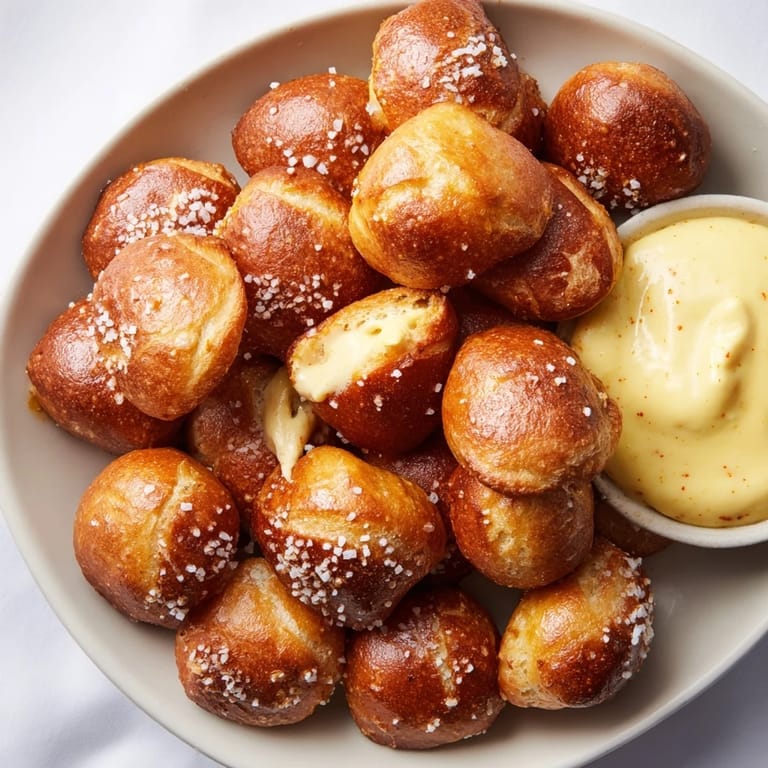
 There's a moment when you pull these from the oven and the whole room suddenly becomes aware that something delicious just happened. The smell alone is enough to bring people wandering into the kitchen, and when you set down that warm bowl of cheese dip next to a pile of golden pretzel bites, you've created something that transcends snack into occasion.
Why the Baking Soda Matters
The baking soda bath sounds like food science theater, but it's genuinely the single most important step for authentic pretzel flavor and texture. When dough hits that boiling alkaline solution, it causes the exterior to brown rapidly and develop that characteristic pretzel crust while the inside stays soft and pillowy. I learned this the hard way by skipping it once, and the result was pretty bread that absolutely didn't taste like pretzel. Now I treat this step with the reverence it deserves because shortcuts are never worth it when the actual step takes maybe thirty seconds per batch.
Troubleshooting Tips
Sometimes your dough rises too fast and sometimes too slow depending on your kitchen temperature, your yeast age, or honestly just the phase of the moon. If your dough is rising sluggishly, give it more time in a warmer spot; if it's ballooning aggressively, you can punch it down and let it rise again. The cheese dip sometimes looks broken and grainy, which usually means you either added the cheese too quickly or the heat was too high, so low and slow is your mantra there.
Making Them Your Own
Once you've nailed the basic recipe, these are endlessly hackable depending on your mood and what you have on hand. I've made batches with everything from jalapeño-infused cheese dip to everything bagel seasoning instead of plain salt, and each version felt like a small experiment. The pretzel bites themselves are so neutral that they welcome creativity, while the dip is your playground for flavor adventures.
- For a spicy version, add a pinch of cayenne or ghost pepper heat to the cheese dip and watch people's surprised reactions.
- Try swapping the cheddar for Gruyère, aged gouda, or pepper jack to completely transform the flavor profile.
- These freeze beautifully before baking, so make a double batch one weekend and you'll have emergency party food forever.
 Save to Pinterest
 These pretzel bites have a way of becoming the thing people specifically request, the recipe they text you about weeks later because they tried to recreate it. That's when you know you've created something worth making again and again.
Questions & Answers
- → How do I achieve soft pretzel texture for the bites?
Boiling the dough pieces in baking soda water before baking gives the pretzels their characteristic chewy and soft texture with a golden crust.
- → Can I substitute cheeses in the dip?
Yes, alternatives like Gruyère or pepper jack can replace cheddar for different flavors while maintaining creaminess.
- → What is the purpose of the egg wash on pretzel bites?
The beaten egg wash creates a shiny, golden-brown surface and helps coarse salt stick to the pretzel bites.
- → How long can pretzel bites be stored before serving?
They are best enjoyed fresh but can be kept a day refrigerated and reheated briefly to restore warmth and softness.
- → What spices enhance the cheese dip’s flavor?
Garlic powder and smoked paprika add savory depth, with optional cayenne for a hint of heat.