 Save to Pinterest
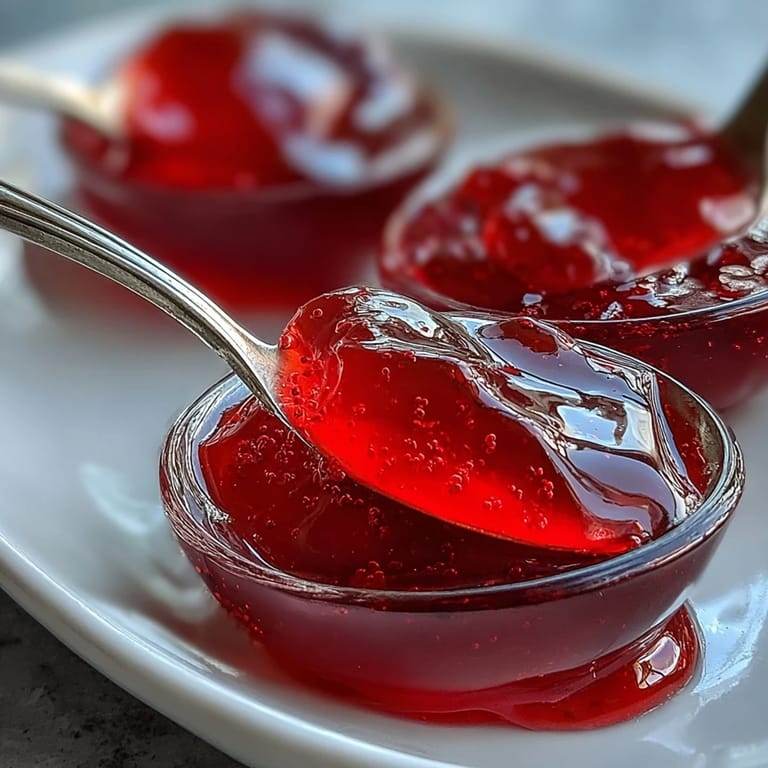
 The first time I made guava jelly, I was startled by how pink the juice turned out, like something out of a fairy tale rather than my kitchen. My grandmother had dropped off a bag of guavas from her tree, and I could not bear to let them go to waste. The whole house filled with this tropical floral perfume that made me feel like I was somewhere far from my tiny apartment kitchen. That afternoon taught me that some of the best preserves come from fruit you almost let sit too long on the counter.
Last December I made triple batches for holiday gifts, and my sister in law called me within an hour of opening her jar to demand the recipe. She said her daughters were eating it straight off the spoon, which is exactly what mine had done the first time I made it. There is something about homemade jelly that feels more special than almost anything else you can put in a jar.
Ingredients
- Ripe guavas: Look for fruit that yields slightly to pressure and smells fragrant, these have the best flavor and natural pectin
- Water: Needed to extract the juice from the fruit, you will strain it all out later so the amount does not affect the final consistency
- Granulated sugar: Essential for both sweetness and the gel structure, do not try to reduce the amount or the jelly will not set properly
- Lemon juice: Balances the sweetness and helps the pectin work its magic, plus it keeps that gorgeous pink color bright
Tired of Takeout? 🥡
Get 10 meals you can make faster than delivery arrives. Seriously.
One email. No spam. Unsubscribe anytime.
Instructions
- Prepare the fruit:
- Wash the guavas well and cut them into quarters, keeping the skin and seeds because they contain most of the natural pectin you need.
- Cook the fruit:
- Place the guava pieces in a large saucepan with the water, bring it to a boil, then reduce heat and simmer until the fruit is completely soft and falling apart.
- Extract the juice:
- Line a strainer with cheesecloth and pour in the cooked fruit, letting it drip undisturbed for at least two hours or overnight.
- Measure and combine:
- Measure your extracted juice and pour it into a clean pot, adding exactly one cup of sugar for each cup of juice along with the lemon juice.
- Boil to setting point:
- Bring the mixture to a rolling boil and cook until it reaches 220°F or passes the wrinkle test on a cold plate.
- Jar the jelly:
- Pour the hot jelly into sterilized jars, leaving a little space at the top, and seal them immediately while everything is still hot.
 Save to Pinterest
 I keep a jar on my desk now, and on hard days sometimes I just open it to smell that bright tropical scent. It is funny how something so simple can transport you back to a warm afternoon kitchen, filled with possibility.
Choosing Your Guavas
The best guavas for jelly are actually a mix of ripe and slightly underripe fruit. The underripe ones bring more natural pectin to help everything set, while the ripe ones provide that deep floral sweetness. I have learned to sniff each fruit at the market, the fragrant ones always make the most flavorful jelly.
The Clear Juice Secret
Letting the juice drip naturally takes patience, but it is what separates amateur jelly from the kind that looks like it came from a fancy shop. I usually set up my strainer before bed and let it work overnight. The next morning, I have perfectly clear, jewel toned juice ready to become something beautiful.
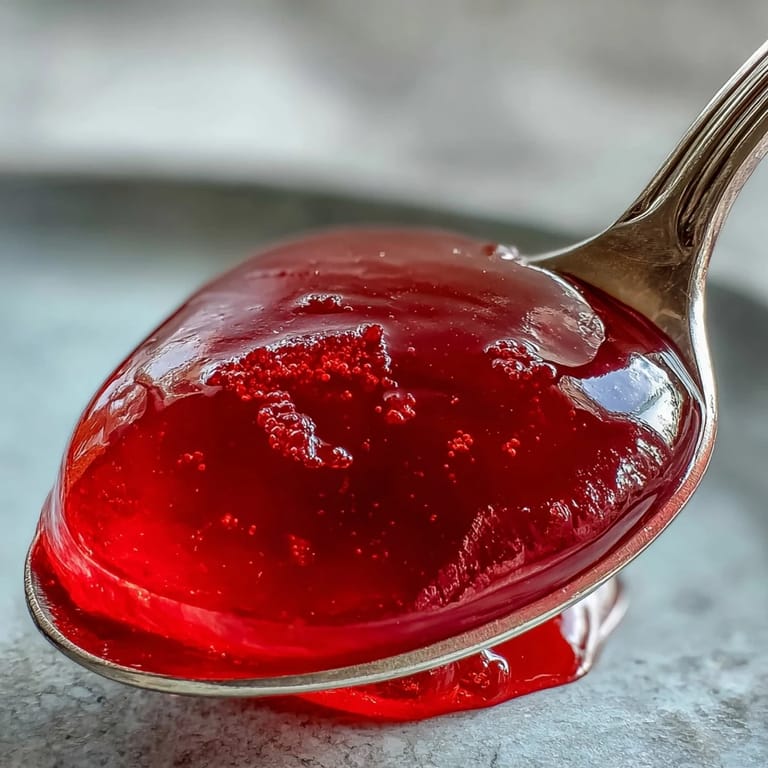
Testing Without A Thermometer
Not everyone has a candy thermometer, and I have definitely made excellent jelly using the old spoon method. Keep a few small plates in your freezer while the jelly cooks. When you think it might be done, drop a tiny amount onto a cold plate and wait a minute. If it wrinkles when you push it with your finger, you have reached the perfect gel stage.
- Start testing after about 15 minutes of rapid boiling
- Do not walk away from the pot once it gets close, jelly goes from perfect to overcooked fast
- Undercooked jelly can be recooked, but overcooked jelly turns into candy
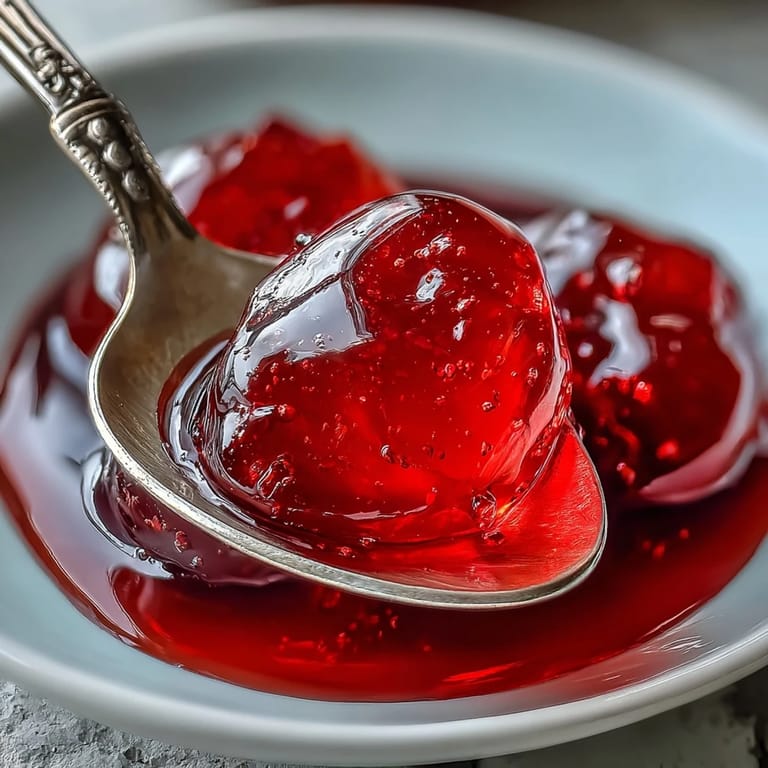
 Save to Pinterest
 There is something profoundly satisfying about seeing those pink jars lined up in the pantry, knowing you captured the essence of a fruit at its absolute peak.
Questions & Answers
- → How do I know when the jelly is ready?
The jelly reaches setting point at 220°F (104°C) on a candy thermometer. You can also test by placing a spoonful on a cold plate—if it wrinkles when pushed with your finger, it's ready to jar.
- → Why shouldn't I press the fruit while straining?
Pressing or squeezing the fruit pulp through the cheesecloth releases particles that cloud the juice. Allowing it to drip naturally yields the crystal-clear, jewel-toned appearance that makes this preserve so beautiful.
- → Can I use overripe guavas?
While very ripe guavas work, mixing in slightly underripe fruit provides more natural pectin for better setting. Aim for fruit that gives slightly to gentle pressure but still holds its shape.
- → How long does homemade guava jelly last?
Properly sealed and processed jars keep for up to a year in a cool, dark pantry. Once opened, refrigerate and use within three weeks for the best quality and flavor.
- → What can I use guava jelly for?
Spread it on toast or biscuits, use it as a filling for thumbprint cookies or thumbprint pastries, brush it over cakes for a shiny glaze, or serve it alongside cheese on a charcuterie board.